Preparing the Casting Site
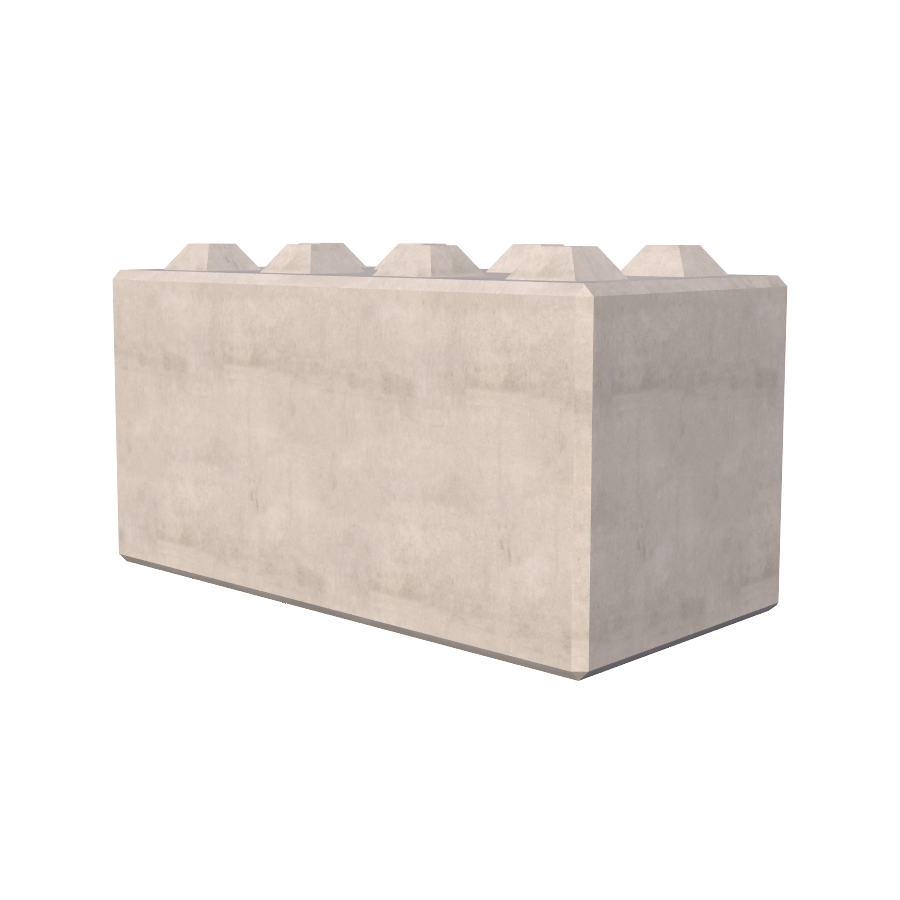
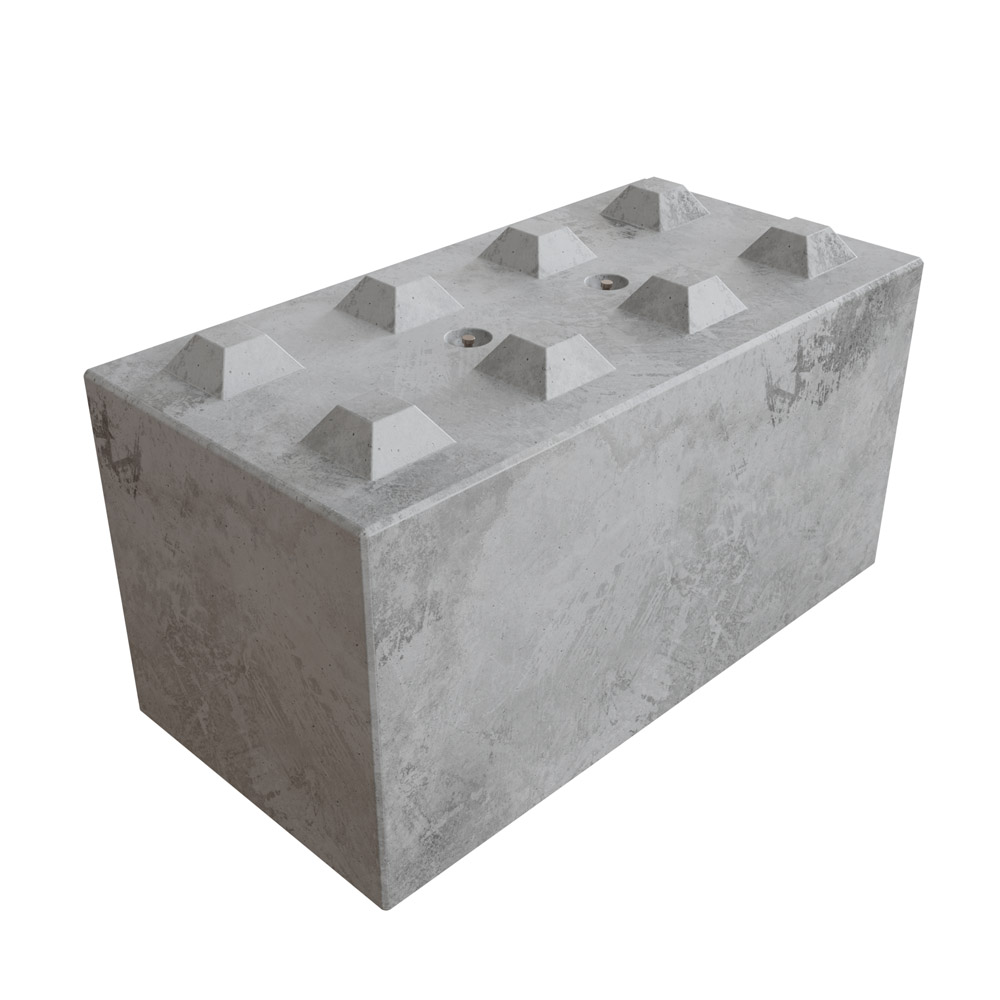
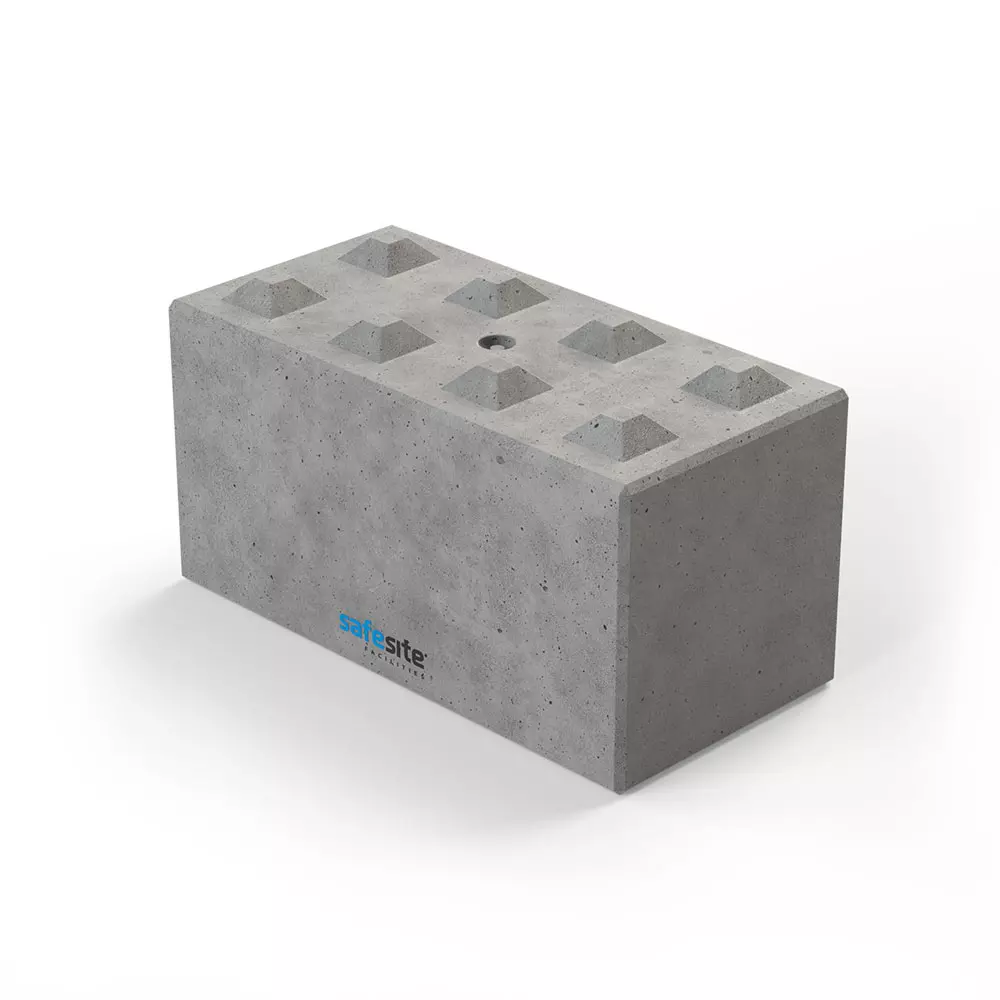
To create high-quality concrete lego blocks, a well-prepared casting site is essential.

Selecting the Right Surface
First, you need a flat surface. Use a plywood panel or steel plate for stability. A flat base helps ensure that the mould sits perfectly and the blocks form correctly. The surface you choose can impact the overall quality of the finished blocks.
Ensuring Mould Cleanliness for Optimal Results
Clean the mould before starting. Remove any concrete residue from previous use. A clean mould ensures a smooth finish for the blocks. It also helps prevent imperfections in the shape and structure. Regular mould maintenance increases its lifespan and performance.
Applying the Mould Release Agent
In creating concrete lego blocks, applying a mould release agent is a critical step. It ensures that the mould separates easily from the set concrete without damaging the block surfaces.
Choosing the Right Concrete Release Oil
Select a concrete release oil best suited for your needs. High-quality release agents reduce the risk of flaws. They also protect your mould’s surface, extending its usability.
Proper Application Techniques for Mould Longevity
Use a professional sprayer to apply the oil evenly inside the mould. Don’t forget to coat the base surface too, whether it’s plywood or steel. This helps with easier demoulding and also preserves the mould condition. Remember to spray the outside when first using the mould. This helps increase its lifespan.

Mixing and Pouring Techniques for Concrete
To manufacture concrete lego blocks effectively, mixing and pouring are vital steps.
Achieving the Perfect Concrete Consistency
For high-quality blocks, achieving the right consistency is key. The mix should not be too wet or too dry. Too wet, and the blocks may not hold their shape. Too dry, and they could crumble. Mix the concrete until it reaches a thick, moldable consistency. This ensures the blocks will be solid and durable.
Filling the Mould Correctly to Avoid Overfilling
Carefully pour concrete into the mould, filling every corner. Watch to prevent gaps or low spots. Stop pouring before the mix overflows. Overfilling can cause issues when leveling and might waste material. Use a tool to spread the mix evenly. This step is crucial for blocks that fit perfectly when stacked. By paying attention to fill levels, you’ll preserve the unique interlocking feature of concrete lego blocks.
Vibrating the Concrete for Integrity
Importance of Concrete Vibration
Vibrating the concrete is crucial for producing strong, defect-free concrete lego blocks. This process ensures that the mixture is compact. It removes air bubbles trapped during mixing and pouring. Fewer air pockets mean better structural strength. For lego blocks, vibration is especially important. The unique shape must be precise for interlocking. Without proper vibration, the blocks may not fit together well.
Identifying Proper Vibration Techniques
To vibrate concrete correctly, use the right tools. A concrete vibrator is essential. Start vibrating as you pour the concrete into the mould. Move the vibrator steadily through the mixture. This helps evenly distribute the material and fill voids. Keep an eye out for small bubbles surfacing. This indicates that air is escaping and the concrete is settling. Avoid over-vibration though. It could lead to segregation of the aggregates. Time the vibration just right to achieve solid, high-quality concrete lego blocks without defects.
Surface Leveling and Finishing
After pouring the concrete into the mould, the next crucial step is leveling and finishing the surface.
Tools and Methods for a Smooth Concrete Surface
To create a flawlessly smooth surface on your concrete lego blocks, precise tools and techniques are needed. Use a concrete straightedge tool to evenly level the mix. Glide it across the top of the mould with steady, horizontal motions. This will remove excess concrete and fill any low spots, ensuring a flat, even finish. It’s important to work quickly before the concrete begins to set.
Factors Affecting the Curing Time of Concrete
Several factors impact the curing time of concrete, including mixture type, temperature, and humidity levels. A standard mixture may require 24 to 48 hours to cure sufficiently before demoulding. However, in cold or damp conditions, curing can take longer. Monitor environmental conditions and adjust your timeline accordingly. The patience during this phase guarantees the strength and stability of your concrete lego blocks, ensuring they are fully set and ready for use.
Maintaining and Storing Moulds Post-Casting
After successfully creating concrete lego blocks, the next critical step is mould maintenance and storage. Proper care ensures that moulds remain in top condition for future use, resulting in consistently high-quality blocks.
Cleaning Practices for Mould Longevity
Once casting is complete, don’t neglect your moulds. It’s important to clean them right away. Here’s how:
- Remove any leftover concrete. Check for residue inside the mould.
- Wash the mould with water. For tough spots, use a mild detergent.
- Dry the mould thoroughly. Any moisture can lead to rust or mildew.
- Consider a light coat of release agent. It can act as a barrier against moisture and rust.
With these simple steps, your moulds can last longer and perform better for future projects.

Effective Mould Storage Solutions
Storing your moulds correctly is equally important to their maintenance:
- Choose a clean, dry area. This helps prevent damage from damp conditions.
- Store moulds flat and avoid stacking. This helps maintain their shape.
- Keep them covered or indoors. This protects them from the elements.
- Check on them periodically. Look for signs of wear or damage.
By following these storage guidelines, you’ll ensure that your concrete lego blocks can be produced efficiently with a well-kept and ready-to-use mould when you need it again.
